Hey there, fellow sweat-seeker. Picture this: It’s a drizzly Saturday morning in Chicago, the kind where the wind whips off Lake Michigan and makes you question every life choice that led you to the outdoors. Back in my early 30s, I was that guy—bundled up, trudging to the local gym, only to find the treadmills packed and the free weights buried under holiday resolutions. One particularly brutal winter, after slipping on black ice for the third time that month, I said enough. Why not bring the gym home? Specifically, to my unfinished basement in a creaky old Midwest bungalow. What started as a half-baked idea turned into my personal sweat sanctuary, and let me tell you, it’s been a game-changer. If you’re staring at your own underused basement, dreaming of deadlifts without the commute, this guide’s for you. I’ll walk you through every step, from battling that notorious Midwest humidity to picking gear that won’t bankrupt you. Let’s dive in and build something that’ll make you actually want to work out.
Why a Basement Home Gym Makes Perfect Sense in the Midwest
Living in the heartland means dealing with weather that swings from blistering summers to bone-chilling winters, but basements? They’re our secret weapon—cool, quiet, and out of the way. For me, transforming mine meant ditching $50 monthly gym fees and reclaiming those hours lost to traffic. It’s not just convenient; it’s a sanity-saver when blizzards hit and the roads turn into skating rinks.
In a region where homes often sit on clay-heavy soil that loves to hold onto water, basements offer stability for heavy equipment without worrying about your upstairs neighbor complaining about vibrations. Plus, with remote work here to stay, why not turn that dusty storage spot into a space that boosts your mood and your deadlift PR?
The real magic? It’s personal. My setup lets me crank up the tunes at 6 a.m. without waking the kids, and on those humid July days, I crank the AC instead of melting on a patio. If you’ve got at least 200 square feet and seven feet of headroom, you’re golden—plenty for a squat rack, bench, and room to swing a kettlebell.
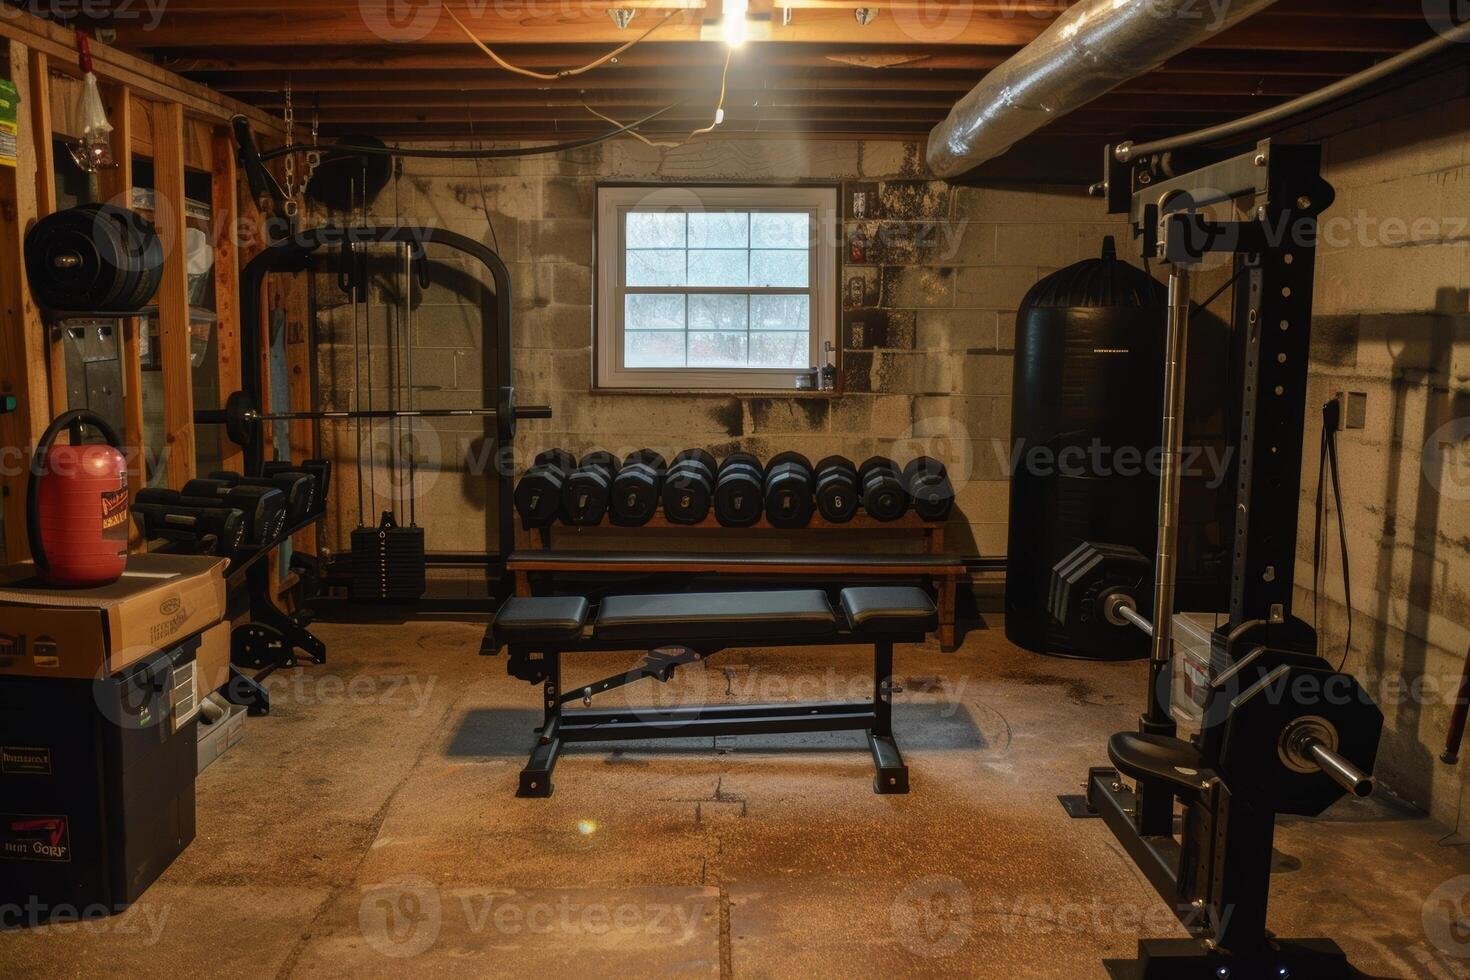
Assessing Your Basement: The Foundation of Your Fitness Fortress
Before you haul in that power rack, grab a tape measure and a flashlight—it’s inspection time. I remember eyeballing my space, convinced it was “gym-ready,” only to discover a sneaky water stain from last spring’s thaw. Start by checking for cracks in the concrete walls or floor; Midwest freeze-thaw cycles love to play havoc there.
Humidity is the big bad wolf here—aim for 30-50% relative humidity to keep mold at bay and your gear rust-free. Walk the perimeter after a rain; any damp spots scream for fixes. And don’t forget ceiling height—anything under 7’6″ means low-profile gear or creative hacks like wall-mounted pull-up bars.
Pro tip: Sketch a rough layout. I used graph paper to map out zones for cardio, strength, and stretching, ensuring at least three feet of clearance around everything. This isn’t just prep; it’s your blueprint for a space that flows like a pro gym, minus the judgmental stares.
Spotting Moisture Culprits in Your Midwest Dugout
Midwest basements are notorious for sipping groundwater like it’s happy hour, especially with our clay soils and heavy rains. Look for efflorescence—those white, salty deposits on walls signaling water infiltration. I found mine near the footer drain, a quick $200 tuckpoint job away from disaster.
Test with a cheap moisture meter; readings over 15% on walls mean dehumidifier duty. And vents? Seal ’em tight—outside humid air sneaking in during summer is a mold magnet.
One overlooked gem: Your sump pump. If it’s wheezing or clogged, it’s pulling double duty against rising water tables. A quick clean saved my setup from a soggy summer surprise.
Budgeting for Your Build: Dollars and Sense
Costs can spiral faster than a bad burpee set, so let’s get real—expect $2,000 to $5,000 for a solid Midwest basement gym, including basics like flooring and a rack. I blew $3,200 total, but shopped sales and Craigslist like a Black Friday boss.
Factor in regional quirks: Dehumidifiers run $200-400 here due to humidity woes, and pros charge $50-150/hour for installs. Break it down: 40% equipment, 30% flooring/ventilation, 20% electrical tweaks, 10% mirrors and bling.
Track it in a simple spreadsheet—trust me, seeing “under budget” keeps the motivation high, even when the squats burn.
| Budget Item | Low-End Cost | High-End Cost | Midwest Tip |
|---|---|---|---|
| Flooring (Rubber Mats, 200 sq ft) | $300 | $800 | Opt for interlocking tiles; easier on joints during Iowa winters. |
| Dehumidifier & Ventilation | $200 | $500 | Essential—humidity spikes to 70% in July without one. |
| Core Equipment (Rack, Barbell, Plates) | $800 | $2,000 | Rogue Fitness ships free; check local used markets in St. Louis. |
| Cardio (Treadmill or Bike) | $400 | $1,500 | Stationary bikes quieter for upstairs neighbors in duplexes. |
| Mirrors & Lighting | $150 | $400 | LED strips mimic natural light; fights seasonal blues in Minnesota. |
| Total | $1,850 | $5,200 | Add 10% buffer for surprises like unexpected wiring. |
Tackling Midwest Moisture: Keeping Your Gym Dry and Mighty
Ah, humidity—the uninvited guest that turns your dream gym into a sauna. In my first summer post-setup, I ignored the musty whiff, only to find rust on my barbell. Lesson learned: Control it early. Basements here pull double duty as natural coolers, but without intervention, they trap moisture like a sponge.
Install a dehumidifier stat—set it to 45% and empty the tank daily at first. Pair it with exhaust fans to cycle air, mimicking that fresh post-rain breeze without the puddles.
Seal cracks with hydraulic cement; it’s like giving your foundation a cozy sweater against the elements. I spent a weekend on mine and haven’t seen a drip since—pure peace of mind.
Why Humidity Hits Harder in the Heartland
Our flat terrain and glacial soils mean water tables flirt with your footer all season. Spring thaws and summer storms push levels up 20-30%, condensing on cool walls faster than you can say “squat.”
It rusts iron, warps wood, and breeds mold that sneaks upstairs. One buddy in Milwaukee lost $1,000 in gear to black spots—don’t be that guy.
Monitor with a $20 hygrometer; apps link to smart ones for alerts. It’s not paranoia; it’s protection for your investment.
Dehumidifier Showdown: Pros, Cons, and Picks
Dehumidifiers aren’t glamorous, but they’re gym guardians. Compressor models hum like a fridge but yank moisture efficiently; desiccants suit tighter spaces but cost more upfront.
I went compressor—pulled 50 pints daily in peak humidity—and it’s paid for itself in zero mold bills.
| Type | Pros | Cons | Best For Midwest Basements |
|---|---|---|---|
| Compressor | Affordable ($150-300), high capacity (30-70 pints/day) | Noisier, needs space to breathe | Large, unfinished spaces like mine in Ohio. |
| Desiccant | Quieter, works in cold temps | Higher energy use, pricier ($300-600) | Finished gyms in cooler Wisconsin cellars. |
| Whole-House | Seamless integration with HVAC | Install cost $1,000+ | If your basement ties into main ducts. |
Flooring Fundamentals: Cushioning Your Gains Down Under
Nothing kills a workout vibe like slipping on slick concrete—trust me, I learned the hard way with a rogue dumbbell. Rubber flooring is your MVP: Shock-absorbing, noise-dampening, and moisture-resistant for our soggy springs.
Go 3/8-inch thick for heavy lifts; it muffles clangs so your spouse upstairs doesn’t revolt. Interlocking tiles snap together like puzzle pieces—no glue mess.
I rolled out horse stall mats for $2/sq ft; they’re tough as nails and smell like victory (or hay, but who’s counting?).
Rubber vs. Foam: The Cushy Comparison
Foam’s cheap and comfy for yoga flows, but compresses under weights like a bad mattress. Rubber? Unyielding support that protects floors from dropped plates.
In humid Midwest spots, rubber blocks seepage better—foam soaks it up and mildews.
Hybrid vinyl tiles blend both worlds: Easy clean, stylish, but pricier at $3-5/sq ft.
- Pros of Rubber: Durable, odor-resistant, great traction even when sweaty.
- Cons: Heavier to install solo; initial barn smell fades in weeks.
- Pro Tip: Layer with thin foam under cardio for extra knee love.
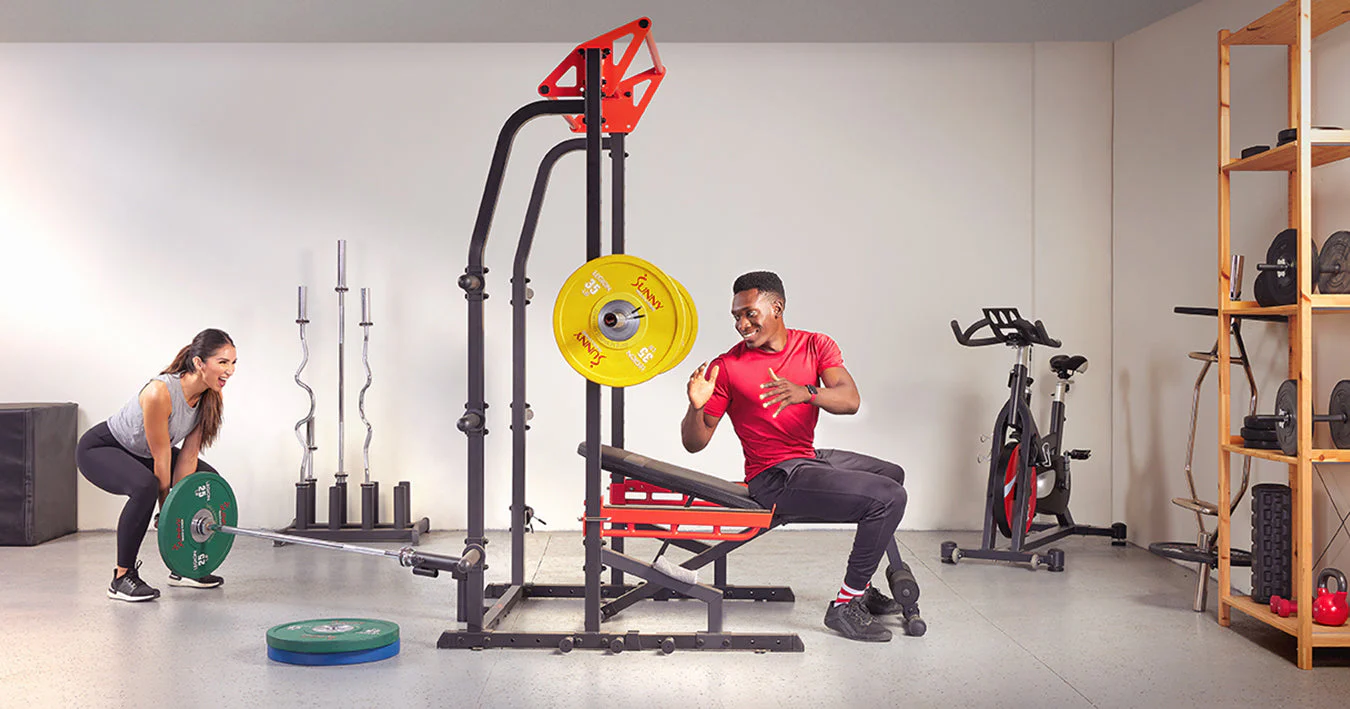
Essential Equipment: Building Your Midwest Muscle Machine
Gear up smart—start with versatile pieces that pack punch without crowding your space. My holy trinity: Squat rack, adjustable bench, and Olympic barbell. Add plates gradually; nothing fancy, just consistent.
For cardio, a fan bike or rower fits low ceilings and burns fat like a bonfire. Skip space-hogs like full ellipticals unless you’ve got room.
Shop local: Midwest spots like Play It Again Sports in Indy have steals on used gems. I scored my rack for half off—feels like cheating the system.
Power Racks for Power Lifts
Low-ceiling friendly? Yes, please. Half-racks save space over full ones, perfect for basement burpees.
Rogue’s Monster Lite series? Bulletproof, with spotter arms for solo safety. I added J-cups for bench versatility—game-changer.
Compare: Titan Fitness edges on price but Rogue wins longevity; your call based on budget.
| Brand | Price Range | Height Options | Midwest Perk |
|---|---|---|---|
| Rogue | $500-1,200 | 7′-8′ | Free shipping; rust-resistant coatings for humidity. |
| Titan | $300-800 | 6’6″-8′ | Budget king; quick local pickup in Chicago. |
| Rep Fitness | $400-900 | Adjustable | Modular add-ons for growing setups. |
Cardio Picks That Won’t Echo
Treadmills thump like thunder—opt for under-desk walkers if noise is ninja-level concern. Rowers? Silent gliders that torch calories without waking the dead.
My Concept2? $900 well-spent; folds away and tracks metrics like a coach.
Pros: Full-body, low-impact. Cons: Needs wall space. Light humor: It’s the machine that makes you feel like a Viking, minus the oars.
Ventilation and Lighting: Breathing Life into Your Lair
Stuffy air turns workouts into wheezes—install a window fan or inline exhaust to swap that basement funk for fresh flow. In my setup, a $50 box fan on a timer keeps it crisp.
Lighting? Ditch fluorescents for LEDs that mimic daylight; it fights those long winter blues. Full-spectrum bulbs at 5,000K make colors pop and energy soar.
Tie it together with smart plugs—voice-control your vibe while crushing curls.
Fan Favorites for Airflow
Ceiling fans stir without spinning you dizzy; pair with dehumidifiers for humidity heroism.
Portable units? Versatile for zoning cool air during HIIT blasts.
One laughable fail: My first fan blew dust bunnies everywhere—clean ducts first, folks.
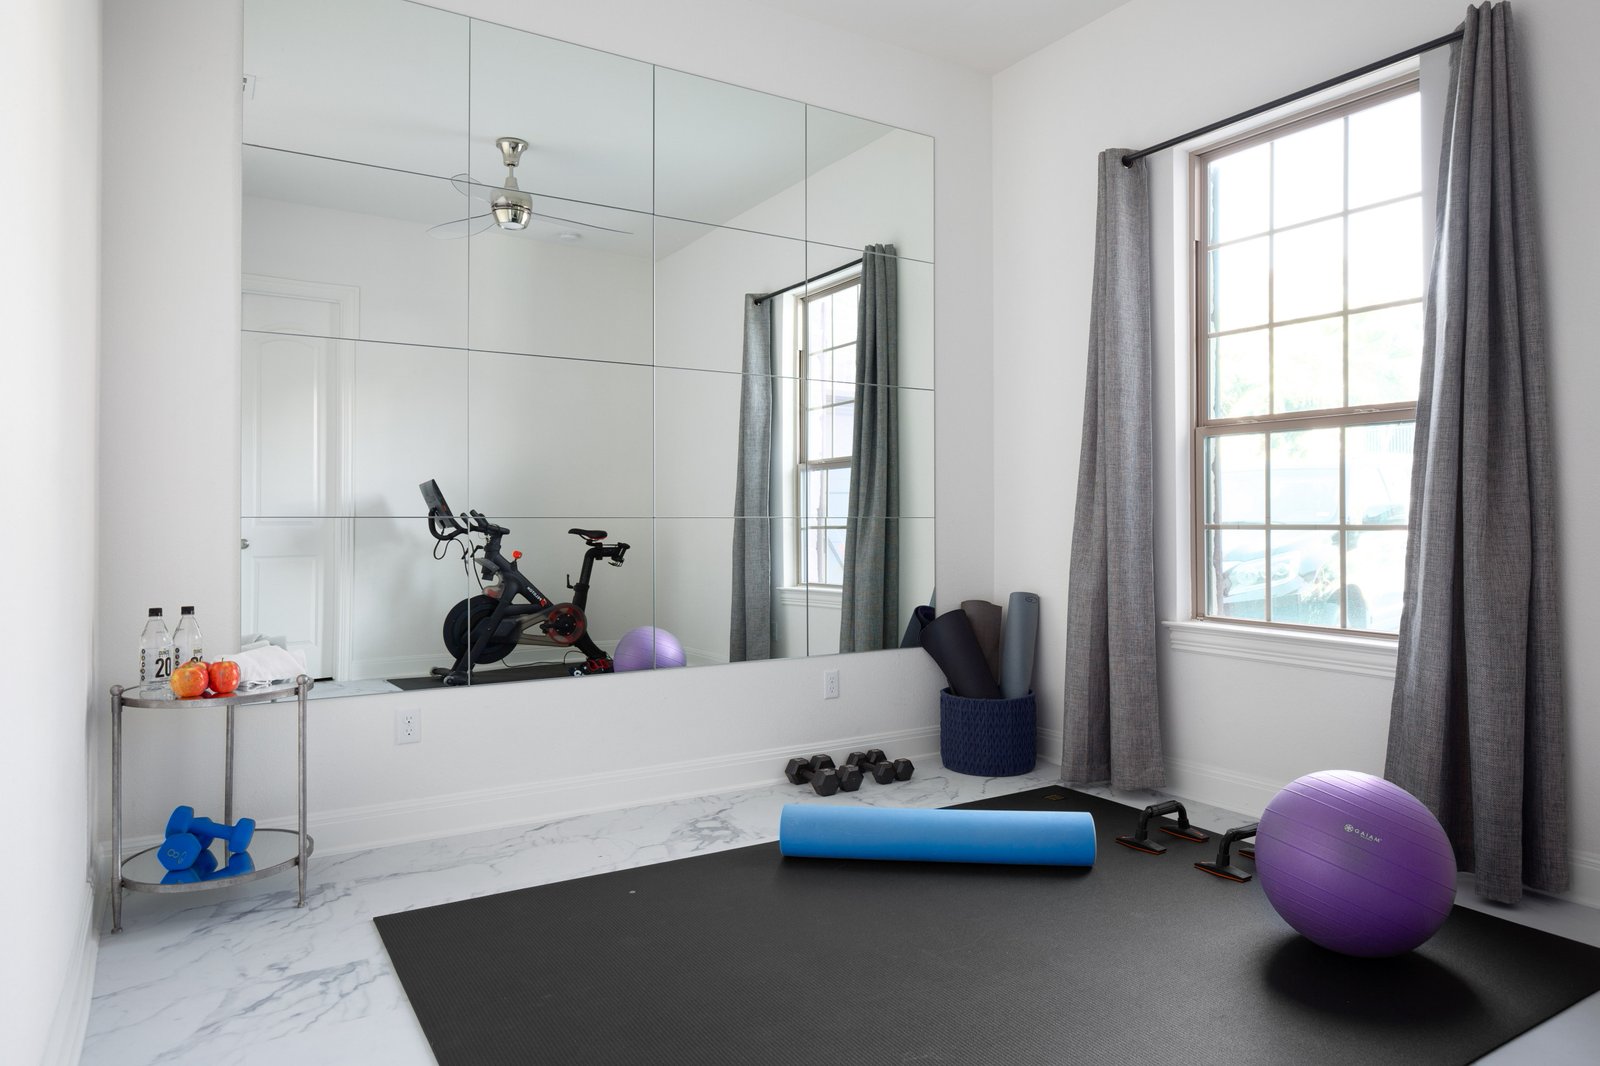
Mirrors and Motivation: Seeing Your Progress (Literally)
Nothing boosts form-checks like a full-wall mirror—it’s like having a coach in the corner. Frameless ones from Fab Glass run $10/sq ft; adhesive backing skips drilling drama.
I hung mine opposite the rack; now every rep feels epic, not awkward.
Safety first: Tempered glass shatters safe if (god forbid) a plate flies.
Installation Hacks for the DIY-er
Stud-finder essential—mount into joists for bombproof hold. J-clips secure edges; pros charge $100-200, but solo’s satisfying.
Pro/Con: DIY saves cash but takes patience; hire if ladders scare you.
Safety First: No Heroes in Home Gyms
Spotter arms aren’t optional—neither are padded floors under drops. I added crash pads after a near-miss; ego bruise bigger than the rep.
Grip tape on bars, secure cables—Midwest slips from sweat are real. And outlets? GFCI-protected for watery woes.
Emotional nod: Safety lets you push limits without fear, turning “what if” into “watch me.”
Personalizing Your Space: From Drab to Fab
Paint walls motivating teal—energizing without overwhelming. Add hooks for bands, shelves for towels; clutter kills consistency.
My touch? A chalkboard for PR tracking—watching numbers climb? Pure dopamine.
Humor break: Skip the motivational posters; your mirror’s got enough “you can do it” stares.
Cost Breakdown: Making It Midwest-Affordable
| Category | Estimated Cost | Notes |
|---|---|---|
| Assessment & Fixes | $100-500 | Moisture meter, sealants. |
| Flooring | $400-800 | 200 sq ft rubber. |
| Equipment Essentials | $1,000-2,500 | Rack, weights, cardio. |
| Ventilation/Lighting | $200-600 | Fans, LEDs. |
| Mirrors & Finishing | $200-500 | Glass, paint. |
| Grand Total | $1,900-4,900 | Scalable—start small! |
People Also Ask: Your Burning Basement Questions Answered
Drawing from real searches, here’s the scoop on what folks like you wonder most.
How much space do I need for a basement home gym?
Aim for 150-300 square feet to fit basics without feeling cramped. I squeezed mine into 180 sq ft by going vertical with wall storage—cozy but crushing.
Can I install a home gym in an unfinished basement?
Absolutely, with rubber mats over concrete and sealed walls. Mine’s unfinished; dehumidifier’s the hero keeping it gym-fresh, not cave-dank.
What is the best flooring for a basement gym?
Rubber horse stall mats win for durability and damp-proofing—$2-4/sq ft, easy DIY. Foam’s softer but soggier in humid climes.
How do I reduce noise from my basement gym?
Mats muffle drops, enclosed machines like rowers hum low. My upstairs fam hears zilch now—blissful peace treaties all around.
Is a dehumidifier necessary for a basement gym?
In the Midwest? Non-negotiable. Keeps gear rust-free and air breathable; mine runs year-round for under $50/month electric.
FAQ: Real Talk on Basement Gym Setups
Got lingering doubts? Here are five common curveballs from my chats with neighbors and online forums.
How long does basement gym installation take?
Weekend warriors: 2-3 days for basics. I stretched mine over two weeks, tweaking as I went—rushed jobs regret later.
What’s the ROI on ditching my gym membership?
Breakeven in 6-12 months at $40/month fees. Plus, no drive-time wasted—my PRs and sanity say infinite returns.
Can I finance equipment for my home gym?
Yep, brands like Rogue offer 0% plans; local credit unions beat big banks. I financed my rower—pays off in sweat equity.
How do I maintain my basement gym equipment?
Wipe down post-use, rust-proof metals monthly. Midwest tip: Silica packs in storage fight humidity ninjas.
What’s the biggest mistake in basement gym builds?
Skipping ventilation—leads to stuffy sessions and mold drama. Learned it the hard way; fresh air’s non-optional.
There you have it—your roadmap to a basement beast-mode haven. Grab that tape measure, crank some tunes, and let’s make those gains happen. What’s your first move? Drop a comment; I’d love to hear your story. Now go claim that space—you’ve earned it.